

There is something so relaxing about making jewelry. Last year, in writing class we had to pick a word for the year, kind of like a personal theme or goal. Mine was calm. I had to repeat calm this year due to disappointing progress. Calm is hard to learn. You can't try too hard, because then you won't be calm - you will be hyper, and anxious about not being calm enough. It's a tangled web. Lackadaisical people do not know how lucky they are. As soon as I start making headway on calm, I get all cocky and forget to keep practicing. But, I am not a natural and will always need to practice. Crafts, yoga, breathing, prayer, herbal tea - all good.
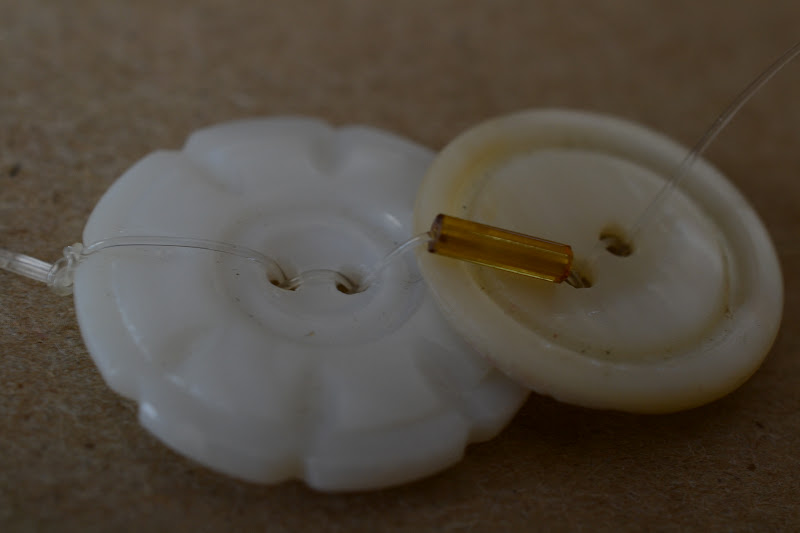
Here's how to make a button bracelet, which would make an excellent gift for just about anybody. (With the possible exception of Queen Elizabeth.) This bracelet has tons of variations. You can use all the same size buttons or mix it up. I added beads, which is optional. Also, you could use 4 hole buttons and run two parallel lines of thread to add stability. Gather Stretch Magic elastic, buttons, and beads.


No comments:
Post a Comment